• Skip to primary navigation
  • Skip to main content
  • Skip to primary sidebar
  • Skip to footer

Sheila Cantonwine

  • Home
  • About Me
  • Blog
    • 4th Grade Math
    • 5th Grade Math
    • 6th Grade Math
    • Back to School
    • Boom Cards
    • Classroom Organization
    • Digital Resources
    • Holidays
    • Math Test Prep & Review
    • Summer Math
    • Teacher Self Care
  • Shop
    • Teachers Pay Teachers
    • Amazon
    • Boom Learning
  • Affiliates
  • Contact
  • Navigation Menu: Social Icons

    • Email
    • Facebook
    • Instagram
    • Pinterest

Courses

10 Ways to Improve Your TpT Business in 2023

January 2, 2023 by Sheila Cantonwine Leave a Comment

10 Ways to Improve Your TpT Business in 2023

Are you ready to significantly impact your TpT business this year? Maybe you’ve had a recent decrease in sales and are ready to take your teacher-author business to the next level. Maybe you need tips and tricks on making the most significant impact given the time you have to devote to your store. Look no further! I’ve put together ten actionable tips to help you increase your success and maximize your impact in 2023. From improving products to creating new ones, these steps will help you stay ahead of the game and reach your goals. Get ready to take your TpT business to the next level with these 10 Ways to Improve Your TpT Business in 2023!

New Video Course to Explain All the Steps

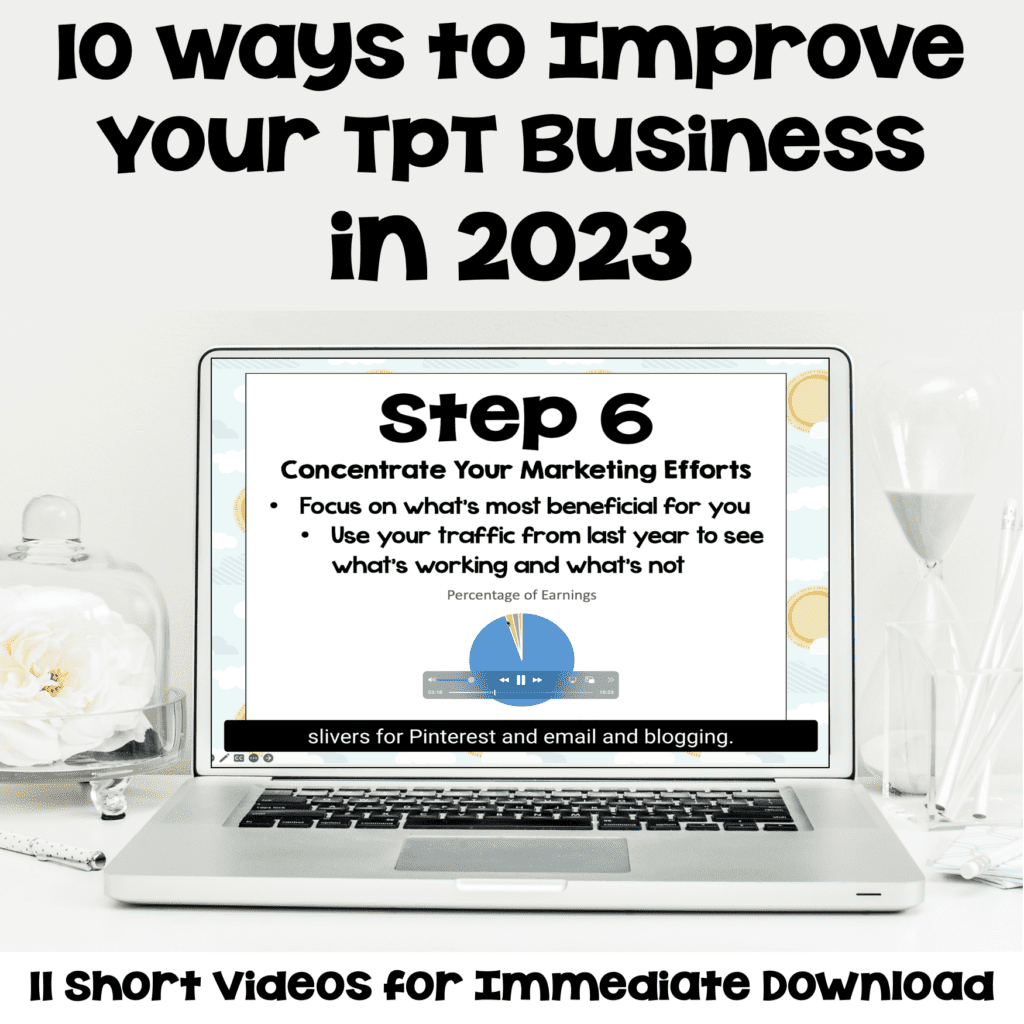
To help explain everything, I have created a new video course to explain the ten things I’m doing this year to grow my TpT business. With 11 easy-to-follow videos and three supporting documents available for immediate download, you can improve your TpT business in no time. The videos cover over an hour of training with topics broken down into small segments. Closed captioning is included in all videos.

10 Ways to Improve Your TpT Business in 2023

Course on 10 Ways ti Improve Your TpT Business in 2023

I’ve broken the process down into ten different steps. Maybe you’re interested in learning about some or all of them. The videos explain everything in easy-to-follow steps, and you can download the files for easy access throughout the year.

Step 1 – Focus on What You Can Control

With so many changes in TpT and schools, not to mention all the changes with social media, it’s important to stay focused on the things you can control. In this section of the course, I’ll explain what we can and cannot control in our business. Changing your mindset to let go of things you can’t control while focusing on things you can have a significant impact on your mental health and your business success going forward.

Step 2 – Updating Products

I’m embarrassed to say that there are some products that haven’t been updated since they were published in 2015. Updating products is something I’m going to focus on this year. In this section of the course, I’ll go through all the steps I’m taking to update existing products in my TpT store. I’ll also talk about ways that you can add value to your existing products while you’re updating them.

Step 3 – Updating Your TpT Product Listings

In this part of the course, I’ll cover updating your TpT product listing. This includes the cover, thumbnail images, snippet, preview, video preview, and product description.

Step 4 – Tracking Your Updates

Increase Sales for Your TpT Business

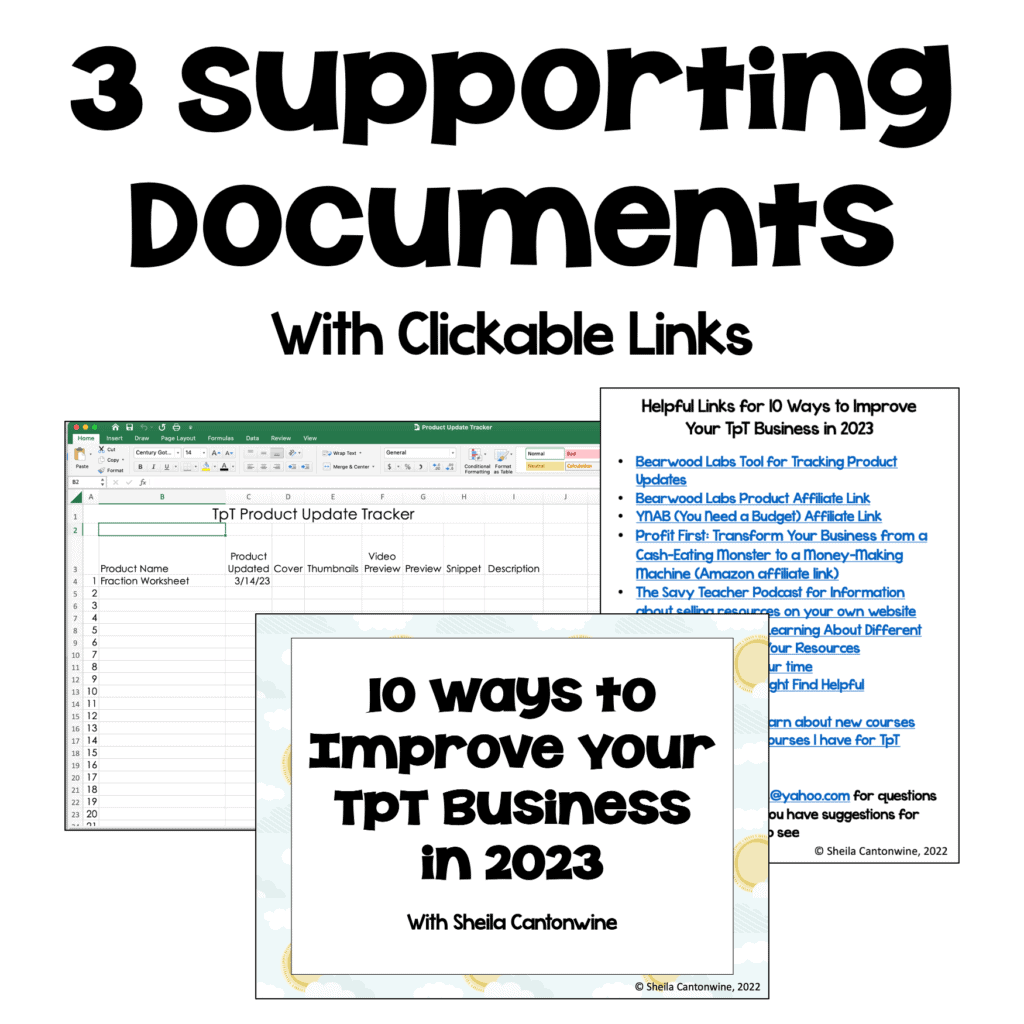
As you update your products and product listings, keeping track of what you’ve updated and when you updated something is essential. For example, if you change the cover and see a significant decrease in sales, you’ll need to go back and tweak the cover until you see a positive increase in sales.

I’ve included a Product Update tracker in the course to help you organize all the changes you’re making to your products and listings. I will also show you a helpful tool to easily see what products have been updated and which ones still need a little TLC.

Step 5 – Thoughtfully Add New Products

When I started selling on TpT, I focused a lot of energy on creating products. Some are my best sellers, and some don’t sell very well. In later years, I learned that quality is more important than quantity, and my newer resources reflect that. In this section, I go through some tips and tricks on thoughtfully adding new products.

Are you curious about steps 6-10? Check out the course in my TpT store to learn all the steps.

Here’s what one teacher seller said about the course: “Very helpful information in the videos, also appreciate the PDF of the slides for easy reference and the Helpful Links for Improving Your TpT Business! The Product Update Tracker will be a useful tool as well! Thank you!”

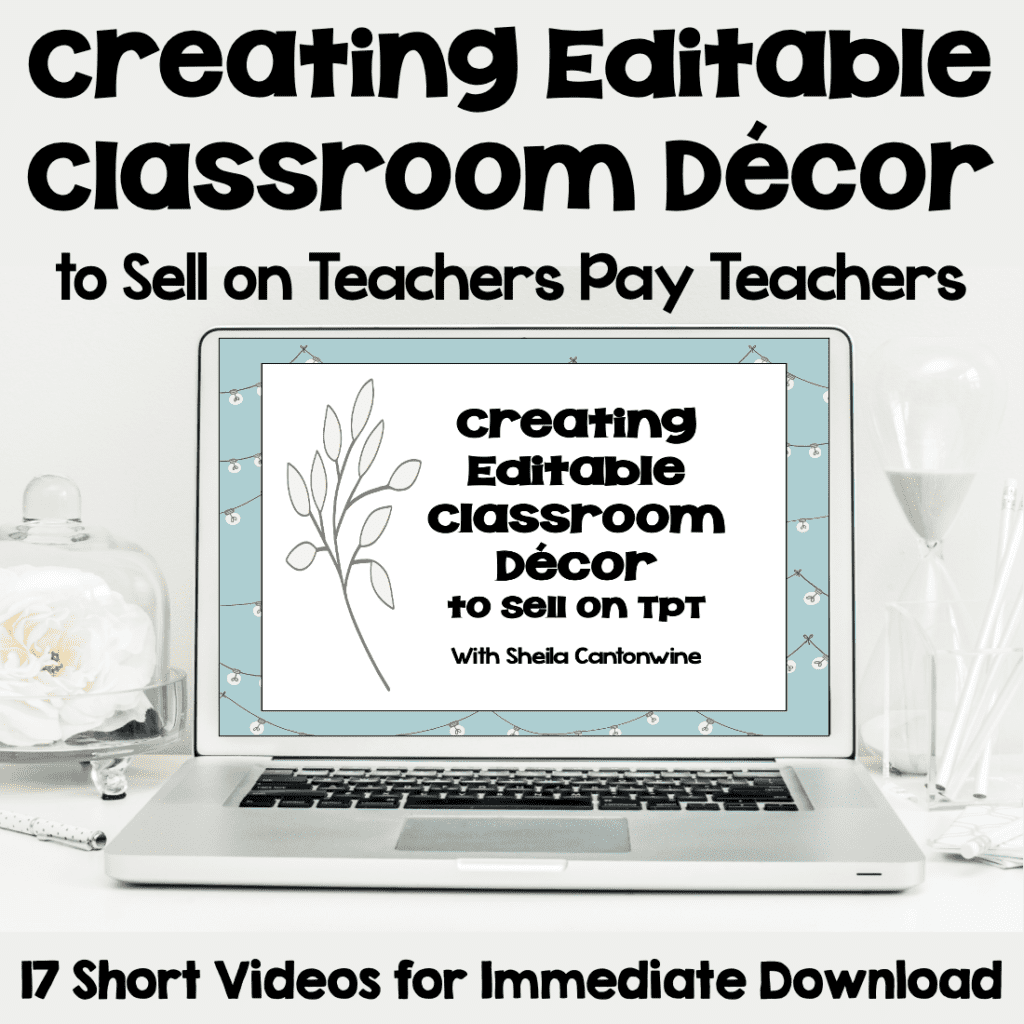
You might also be interested in this blog post on Creating Boom Cards to Sell on TpT and Boom Learning.

I hope this was helpful! I wish you all the best in your TpT business for 2023!

Filed Under: Courses Tagged With: Create TpT Resources, Generate More TpT Sales, Improve TpT Business, Teacherpreneur, Teacherpreneur Tips, TpT Seller, TpT Seller tips, TpT Store, Update TpT resources

Creating Editable Classroom Decor Products To Sell On TpT

September 28, 2022 by Sheila Cantonwine

Creating Editable Classroom Decor Products to Sell on TpT

I love creating editable classroom decor products to sell on TpT. As a math teacher, I have few opportunities to be creative with my resources. Creating decor is really fun and lets me be creative.

Plus, resources like name tags, labels, binder covers, and calendars are some of the best sellers in my store. Unlike math resources, they can be used for multiple grade levels too. They sell well for the summer months in anticipation of returning to school. Plus, they usually have a nice bump in sales at the beginning of the year when schools in Australia and New Zealand head back. Here are the steps I take in creating editable classroom decor products to sell on TpT.

Step 1 – Choosing Your Papers, Clipart, and Accents

This is the fun part. I love looking through design products on both Teachers Pay Teachers (TpT) and Etsy. There are so many gorgeous digital papers, clipart, and accents to choose from. Certain colors do better with different age levels. For example, bright colors work well for elementary students, and more muted or calming colors work well for upper elementary or middle school. Also, remember that a teacher will most likely keep the decor in the classroom all year, so it should be pleasing to the eye.

Editable Binder Covers in Woodland Forest

Step 2 – Adding Design Elements

This is where the fun begins. After choosing your papers, clipart, and accents, you create the decor. I love using different combinations of papers, accents, and clipart to create my resources. I sometimes even create my own matching background papers to match specific clipart that I love. For example, with these binder covers on the right, I combined a paper pack, frame, and clipart to create the final look.

Step 3 – Saving the File and Flattening the Design Elements

This is definitely the most important part of the process. Once you create the designs, you must secure or flatten the images. This means the digital paper, clipart, frames, and other accents need to be in one single layer. When you do this, you make sure that individual pieces of the decor like clipart can’t be lifted from your resource. I prefer to use Flat Pack to secure my images, but you can also use PowerPoint too. Flat Pack comes in 2 versions: Flat Pack for Mac (affiliate link) and Flat Pack for PowerPoint (affiliate link), so make sure you purchase the correct version.

Want to Learn More?

Course on Creating Editable Classroom Decor

If you’re interested in learning more about how to create editable products, check out my course on Creating Editable Classroom Organization and Decor Products to Sell on TpT. It includes 17 easy-to-follow videos that walk you through all the steps.

You might also be interested in my blog posts on Creating Uncover the Picture Boom Cards.

Filed Under: Back to School, Classroom Organization, Courses Tagged With: creating editable binder covers, creating editable classroom decor, Creating editable decor, creating editable name tags, making editable binder covers, making editable name tags

5 Tips For Marketing And Advertising Your Boom Cards

February 15, 2022 by Sheila Cantonwine

5 Tips for Marketing and Advertising Your Boom Cards

Once you have spent lots of time creating and publishing your wonderful Boom cards, you want to make sure that teachers see them. That’s where marketing and advertising your boom cards come in. I’ve learned over the years to incorporate my marketing efforts into the product creation process. That way, you can start advertising and marketing your new creations as soon as they’re published.

Here are 5 tips I recommend for marketing and advertising your Boom cards:

1) Create a Video Preview for Your Product Listing on TpT

I like to create short videos, about 2 minutes long, that show the Boom cards being used. Once I have the videos in place, I can use them for the video preview on Teachers Pay Teachers (TpT). Teachers can then see all the Boom cards and what their students will be expected to do. You can check your TpT dashboard to see how many people are viewing your video previews just to see if they are being viewed. I’ve learned over the years that it has really helped with marketing.

If you can show that the Boom cards are self-correcting that will really help. Teachers are so pressed for time and having digital resources that are automatically graded can save precious time. Students also enjoy having resources that are self-correcting because they have instant feedback which helps them learn from their mistakes.

Below, you can find the video preview that I created for my Boom card listing on TpT for 2 Digit by 2 Digit Multiplication Boom Cards.

Here’s an example of a video preview I have for this product on TpT

If you’d like more information about creating video previews, check out my Course on Marketing and Advertising Your Boom Cards.

2) Use the video for Instagram and Facebook posts

Once you’re comfortable creating video previews of the Boom cards in action, you can easily use those videos to create Instagram or Facebook posts. I like to use the Tailwind scheduler for this because it creates and schedules both Instagram and Facebook posts for me. Here’s an example of an Instagram post that I used a video for. It was a much better way for me to show the product in action rather than only having one static image of the Boom cards.

3) Create Pins for Pinterest

Pinterest is still my best marketing tool for my business. Whenever I create a new deck of Boom cards, I try to create 2 new pins. The first pin is a static pin that I can use for my Tailwind Communities and to schedule to Tailwind. The second pin that I create is a video pin. I use the video that I created for the video preview then just embed it into a pin template using Canva. Both types of pins have been really successful for driving traffic to both my TpT and Boom Learning stores.

Here’s an example of the video pin I created for a recent product. Here’s an example of the static pin I created for the same product.

4) Optimize Your Product Listing on TpT

When people ask about marketing their products, I also suggest they take a look at their product listings on TpT. It’s important to have everything in place so teachers have as much information as they can before buying your Boom cards.

To optimize your product listing I suggest you have:

  • An eye-catching product cover. It’s helpful to have the Boom logo on the cover and mention that they are self-correcting digital task cards
  • A preview with the Boom Preview link in place. Boom learning provides this link so people can view the first 4 cards in your deck. It’s a great marketing tool because they get to try before they buy.
  • Thumbnail images that showcase the product and any unique features you may have
  • Searchable title. Something like “Fun in the Sun Boom Cards” won’t be searched as much as “Summer Themed Multiplication Boom Cards”
  • Product Description. Include what the students will be expected to do and how many Boom cards are included. There is also some information from Boom Learning that you should include in your product description too.

5) Optimize Your Product Listing on Boom Learning

Although the platforms are different, it’s equally important to optimize your product listing on the Boom Learning website.

To optimize your product listing I suggest you have:

  • An eye-catching product cover. Since you don’t need to have the Boom logo or mention that they are digital task cards, this give you more room to showcase your Boom cards. For example, if I have a deck that covers all 5 strands of math standards, I might show all 5 of those Boom cards rather than just one.
  • Provide helpful information in your details page. This includes your the grades, keywords, subject, and product description which is found in “about”. For the product description, I like to include what the student will be asked to do. For example, are the questions multiple choice, drag and drop, or will they be expected to type the answers.
Marketing and Advertising Your Boom Cards

I hope these suggestions are helpful. To find out more about marketing your Boom cards, check out my course Marketing and Advertising Your Boom Cards on TpT.

Filed Under: Courses, Digital Resources Tagged With: Advertising Boom Cards, Boom cards, Marketing Boom Cards, Selling Boom Cards, Video Preview for Boom Cards, Videos of Boom Cards

Creating Uncover the Picture Boom Cards

May 13, 2021 by Sheila Cantonwine 1 Comment

Creating Uncover the Picture or Hidden Picture Images

Have you ever seen those decks of Boom cards where there is a covered picture that students slowly uncover as they answer questions correctly? I call them Uncover the Picture Boom cards but sometimes they are also called Hidden Pictures, Mystery Pictures, or Covered Pictures. Students love these Boom cards because they’re interactive and allow students to do something fun while answering questions. Teachers love them because they are self-correcting and can track student data.

Have you ever wanted to learn how to create these Boom cards either for your students or to sell on Teachers Pay Teachers or Boom Learning? In this blog post, I’ll go through some of the steps you need to create these fun Boom cards.

Step 1 – Planning Your Uncover the Picture Boom Cards

The first and most important step is to plan your Boom cards. You’ll need to know the following information:

Example of 12 answer grid for Hidden Pictures Boom Cards
This is an example of a 12 answer grid
  • How many questions will there be? This can often depend on the age of the students and the difficulty of the question.
  • How many images will there be? You can offer either 1, 2, or 3 images for students to uncover. Most of my decks have 2 puzzles each with 12 questions for a total of 24 question.
  • Write out your questions and answers on the grid so you know the order that the questions will be. This is also helpful in figuring out which part of the image will be uncovered.
  • I go through the steps in a lot more detail in the Creating BOOM Cards Mini Course for Uncover the Pictures. I also include a helpful Worksheet for Creating Your Own Custom Sized Pictures, Answer Boxes & Answer Grids.

Step 2 – Designing Your Background Images

Example of Clipart and Background image for Hidden Pictures Boom Cards
In this example, I placed clipart on top of a background image to create the picture that will be uncovered.

There are a couple different options for your background images for these Hidden Pictures or Uncover the Pictures Boom Cards. This is the fun part where you get to be creative and make a unique background for the students. Here are some options for your background images:

  • Stock photos from your favorite site. Make sure you have permission to use them for commercial use.
  • Photos that you have taken yourself.
  • Clipart from Teachers Pay Teachers. Make sure the clip artist is on the Font and Clip Art Permissions Granted or Denied List for Boom Learning.
  • Background images with clipart on top.

Step 3 – Setting Up Your PowerPoint & Boom Card images

For PowerPoint, you’ll want to include the question for the student to answer, the background image, and the answer grid. You’ll want to order your slides in PowerPoint so that as students answer each question, the next slide has the correct answer removed. This will reveal part of the image underneath.

For Boom Learning, you’ll want to add answer boxes on top of each of the answers. When students click or tap the correct answer, the Boom card will advance to the next card with part of the picture revealed underneath.

Course Suggestion for Creating Uncover the Picture Boom Cards

Creating Boom Cards Mini Course for Uncover the Pictures

Some of the steps are a little more involved and can be a little complicated depending on how many questions you may have. It also depends on how much experience you have with PowerPoint and the Boom Learning platform.

If you’re interested in learning more about creating these Boom cards, I suggest you checkout the Creating BOOM Cards Mini Course for Uncover the Pictures. The course has 18 short videos that break the course down into easy to follow steps. You can download the videos and watch them at your own pace.

There are also 3 supporting documents that include everything you need to help the process go smoothly.

Here is what teacher authors are saying about the course…

“I loved this course. This is a complicated process but the step by step guide was extremely helpful and such a time saver!”

“I have used the information found in this course to make numerous products that have turned out PERFECTLY every single time! Thank you for the step-by-step easy to follow directions in your videos! You are the best!”

“Thank you so much for this mini course! It was worth every penny. I think I am officially addicted to creating these uncover the pictures. Your lessons were very thorough, and you made it very easy to follow along. The course was also very well organized so that if I needed to re-watch a video, it was really easy and quick to find.”

I hope these steps are helpful. If you have any questions, I’m always happy to help. Feel free to contact me through my blog or through the “Ask a Question” link on my TpT store.

Filed Under: Courses, Digital Resources Tagged With: Boom cards, Courses for TpT Sellers, Creating Boom Cards, Hidden Pictures Boom Cards, Making Boom Cards, Mystery Picture Boom Cards, Selling Boom Cards, Uncover the Picture Boom Cards

Creating Multiple Choice Options for Boom Cards

April 2, 2020 by Sheila Cantonwine 3 Comments

Creating multiple choice options for Boom Cards

Creating multiple choice options for Boom cards is a lot of fun! Check out this fun webinar I did with the folks at Boom Learning. Just click on the image above to see the webinar on You Tube. In the webinar you’ll learn how to create some basic boom cards with PowerPoint. Then I’ll show you how to upload them to the Boom Learning website. Finally, I’ll cover multiple choice options in Boom Learning. In addition to creating multiple choice options for Boom cards, you can also create fill in the blank, drag and drop, as well as a couple other options that make your Boom cards interactive for your students.

Creating Boom Cards Bundle

You might also be interested in my video course on Creating Boom Cards. The videos and checklist covers everything you need to start creating your own Boom cards to assign them to your students. You also have the option to sell them on Teachers Pay Teachers and the Boom Learning website.

Here are some of the other topics you’ll learn in the into course:

• Step 1 – Planning your BOOM Cards on Paper
• Step 2 – Creating PowerPoint Slides for Your BOOM Cards
• Step 3 – Uploading Images to BOOM Learning
• Step 4 – Multiple Choice Responses, Fill in the Blank Responses, Click the Correct Answer Responses, and Drag & Drop Responses
• Step 5 – Previewing the BOOM Cards
• Step 6 – Square Covers
• Step 7 – Completing the Details & Publishing BOOM Cards
• Step 8 – Teacher Notes for Teachers Pay Teachers (TpT) Listing
• Step 9 – Preview File
• Step 10 – Thumbnail Images
• Step 11 – Product Description
• Step 12 – Listing Your BOOM Cards on TpT

Here are the topics covered in the Advanced Course:

• Lesson 1 – Uploading Fonts to Boom Learning
• Lesson 2 – Custom Colors
• Lesson 3 – Using Sound with Your Voice Recordings and Free Sound Clips
• Lesson 4 – Video
• Lesson 5 – Fractions in Boom Learning and PowerPoint
• Lesson 6 – Flow Magic with Different Levels and Student Options
• Where to Go for Help

For more information about Boom Cards, check out my posts on Creating Boom Cards or 6 Reasons to Use Boom Cards in Your Classroom.

Filed Under: Courses, Digital Resources Tagged With: Boom cards, creating boom card, Making Boom Cards, multiple choice boom cards

Creating Boom Cards

September 24, 2019 by Sheila Cantonwine 19 Comments

Creating BOOM cards to sell on Teachers Pay Teachers and the BOOM Learning website is a great way to earn some extra income.  You can even use the Boom cards that you create in your own classroom.  

Why Use Digital Task Cards in the Classroom?

Creating BOOM Cards to Sell on Teachers Pay Teachers

Digital task cards are great in the classroom because they are interactive, self-correcting and can track student data. Teachers, you can save valuable time by not having to grade student work with the self-correcting features with Boom cards. Students love that they receive immediate feedback which means they can learn from their mistakes. They also love how interactive and fun they can be.

With more and more schools using digital and/or hybrid resources it’s also a great way to reach ALL your students when they’re in person or remote learning.

There are so many reasons that Boom cards can be helpful to you and your students. Check out the blog post 6 Reasons to Use Boom Cards in Your Classroom for other reasons that teachers and students love Boom cards.

If I Create Boom Cards, How Can I Sell Them?

If you want to try selling Boom cards, you can actually sell them two different places right now.  First, you can sell them on the Boom Learning website.  The second place to sell them is on Teachers Pay Teachers (TpT).  With 2 sources of income, it’s a great investment of your time.


How Do I Create Them?

I use these 7 easy steps for creating Boom cards to sell on Teachers Pay Teachers.

Creating Boom Cards to Sell on Teachers Pay Teachers

Step 1 – Planning your Boom Cards on Paper

This is something that’s easy to skip but planning your Boom cards on paper beforehand can save you a lot of time later on.  Because Boom cards are interactive, it helps to plan out the design, questions, and answers on paper.  For example, if your questions are multiple choice with 4 answers to choose from, it’s helpful to write out all 4 answer beforehand.  

Step 2 – Creating PowerPoint Slides & Uploading to Boom

When setting up Boom Cards for PowerPoint, you’ll need to have a specific size for your slide (7 inches wide by 5 inches high).  After you’ve created your Boom cards in PowerPoint you will also need to save each of the slides as an image file.  These images will become the background for the the new Boom cards on the Boom Learning website. After you’ve created your image files in PowerPoint you can then upload them to Boom Learning where you can set them as the background images for your Boom cards. 

Step 3 – Creating Answers 

 After you have the background images in place on your Boom cards, you need to add the interactive answers for students to select.  This is where the magic happens.  There are so many options for Boom cards including multiple choice with text, multiple choice with images, fill in the blank, click the correct answer, and drag and drop.  Making your Boom cards interactive is what students really love. 

You’ll also assign correct and incorrect answers so the Boom cards will be self grading.  This is great for students because they keep selecting until they find the correct answer.  The immediate feedback helps them learn from their mistakes.  It’s also helpful for teachers because they don’t have to do the grading.

Step 4 – Previewing the Boom Cards & Creating Covers

2 Digit by 2 Digit Multiplication BOOM Cards

It’s helpful to preview all the Boom cards a couple times just to make sure everything is correct.  Having a friend of colleague test the cards is also a great idea.  During the preview you can also grab screenshots of the Boom cards to use for your marketing. 

Both TpT and Boom Learning feature square covers for product listing.  These covers will look similar but the TpT cover needs to say “hosted on Boom Learning” and I also like to add that they are digital task cards.

Step 5 – Completing the Details & Publishing 

There are a few details you need to complete on the Boom Learning website including information about the grade level, keywords, subject, and a brief description of the Boom Cards.  The details also have the unique links for the preview and product download that you will need to include in your product file that teachers download on TpT.  At this point, you can also publish your Boom cards on the Boom Learning site.

Step 6 – Creating Teacher Notes for TpT Listing

Since you can’t actually have the Boom cards as a download for TpT, you need to create a file that explains how the teacher can access the Boom cards on Boom Learning.  This is what I call the Teacher Notes.  In this pdf file you can include a link to the product on Boom Learning as well as instructions on how to use the Boom cards with students.

Step 7 – Listing Your Boom Cards on TpT

If you’re an established TpT seller, you’ve already completed these steps before.  It includes creating the preview file, creating thumbnail images, and creating the product description.  When you have all these completed then you’re all set to publish your Boom cards on TpT.

Creating BOOM Cards to Sell on Teachers Pay Teachers

If this seems overwhelming to you (I know it was for me at first) then check out my TpT course on Making and Creating Boom Cards Digital Task Cards to Sell on Teachers Pay Teachers. 

This course features 16 videos and 6 supporting documents that are available for immediate download.  They provide step by step instructions to help you navigate the whole process easily.  After this course you’ll be able to create your first set of Boom cards in no time at all.

Here’s what one teacher said about the course:

“This is a fabulous resource! All the information is provided in easy to follow videos that are labeled by skill so you can go back and review a specific area whenever you want to. The narration is very clear and easy to follow. She walks you through the whole process from coming up with an idea all the way to publishing the cards and listing them on TpT. This resource is a must if you want to make Boom Cards.”

Creating Boom cards can be so much fun! I wish you all the best in your future Boom cards creation!

Filed Under: Courses, Digital Resources Tagged With: Boom cards, Creating Boom Cards, Making Boom Cards, Making Digital Task Cards, Selling Boom Cards

Primary Sidebar

About Me Image

I love helping teachers everywhere by providing quality resources and practical tips for the classroom. I know how stressful teaching can be and I'd love to make your job just a little easier.

All the best, Sheila

  • Email
  • Facebook
  • Instagram
  • Pinterest

Search

Recent Blog Posts

Infuse Magic & Merriment in Your Classroom with Christmas Bingo

A Christmas Multi-Digit Multiplication Bundle They’ll Love!

Thanksgiving Dinner Math Project – Based Learning for Grades 5-7

Free fraction worksheets

Free Fraction Worksheets

Footer

  • Email
  • Facebook
  • Instagram
  • Pinterest

© Sheila Cantonwine 2024 | Privacy Policy & Affiliate Disclaimer

Copyright © 2026 · Foodie Pro Theme on Genesis Framework · WordPress · Log in