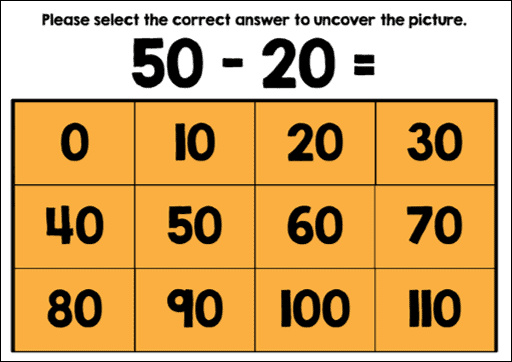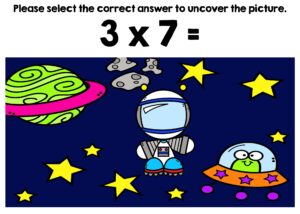
Have you ever seen those decks of Boom cards where there is a covered picture that students slowly uncover as they answer questions correctly? I call them Uncover the Picture Boom cards but sometimes they are also called Hidden Pictures, Mystery Pictures, or Covered Pictures. Students love these Boom cards because they’re interactive and allow students to do something fun while answering questions. Teachers love them because they are self-correcting and can track student data.
Have you ever wanted to learn how to create these Boom cards either for your students or to sell on Teachers Pay Teachers or Boom Learning? In this blog post, I’ll go through some of the steps you need to create these fun Boom cards.
Step 1 – Planning Your Uncover the Picture Boom Cards
The first and most important step is to plan your Boom cards. You’ll need to know the following information:

- How many questions will there be? This can often depend on the age of the students and the difficulty of the question.
- How many images will there be? You can offer either 1, 2, or 3 images for students to uncover. Most of my decks have 2 puzzles each with 12 questions for a total of 24 question.
- Write out your questions and answers on the grid so you know the order that the questions will be. This is also helpful in figuring out which part of the image will be uncovered.
- I go through the steps in a lot more detail in the Creating BOOM Cards Mini Course for Uncover the Pictures. I also include a helpful Worksheet for Creating Your Own Custom Sized Pictures, Answer Boxes & Answer Grids.
Step 2 – Designing Your Background Images

There are a couple different options for your background images for these Hidden Pictures or Uncover the Pictures Boom Cards. This is the fun part where you get to be creative and make a unique background for the students. Here are some options for your background images:
- Stock photos from your favorite site. Make sure you have permission to use them for commercial use.
- Photos that you have taken yourself.
- Clipart from Teachers Pay Teachers. Make sure the clip artist is on the Font and Clip Art Permissions Granted or Denied List for Boom Learning.
- Background images with clipart on top.
Step 3 – Setting Up Your PowerPoint & Boom Card images
For PowerPoint, you’ll want to include the question for the student to answer, the background image, and the answer grid. You’ll want to order your slides in PowerPoint so that as students answer each question, the next slide has the correct answer removed. This will reveal part of the image underneath.
For Boom Learning, you’ll want to add answer boxes on top of each of the answers. When students click or tap the correct answer, the Boom card will advance to the next card with part of the picture revealed underneath.
Course Suggestion for Creating Uncover the Picture Boom Cards
Some of the steps are a little more involved and can be a little complicated depending on how many questions you may have. It also depends on how much experience you have with PowerPoint and the Boom Learning platform.
If you’re interested in learning more about creating these Boom cards, I suggest you checkout the Creating BOOM Cards Mini Course for Uncover the Pictures. The course has 18 short videos that break the course down into easy to follow steps. You can download the videos and watch them at your own pace.
There are also 3 supporting documents that include everything you need to help the process go smoothly.
Here is what teacher authors are saying about the course…
“I loved this course. This is a complicated process but the step by step guide was extremely helpful and such a time saver!”
“I have used the information found in this course to make numerous products that have turned out PERFECTLY every single time! Thank you for the step-by-step easy to follow directions in your videos! You are the best!”
“Thank you so much for this mini course! It was worth every penny. I think I am officially addicted to creating these uncover the pictures. Your lessons were very thorough, and you made it very easy to follow along. The course was also very well organized so that if I needed to re-watch a video, it was really easy and quick to find.”
I hope these steps are helpful. If you have any questions, I’m always happy to help. Feel free to contact me through my blog or through the “Ask a Question” link on my TpT store.

