I love creating editable classroom decor products to sell on TpT. As a math teacher, I have few opportunities to be creative with my resources. Creating decor is really fun and lets me be creative.
Plus, resources like name tags, labels, binder covers, and calendars are some of the best sellers in my store. Unlike math resources, they can be used for multiple grade levels too. They sell well for the summer months in anticipation of returning to school. Plus, they usually have a nice bump in sales at the beginning of the year when schools in Australia and New Zealand head back. Here are the steps I take in creating editable classroom decor products to sell on TpT.
Step 1 – Choosing Your Papers, Clipart, and Accents
This is the fun part. I love looking through design products on both Teachers Pay Teachers (TpT) and Etsy. There are so many gorgeous digital papers, clipart, and accents to choose from. Certain colors do better with different age levels. For example, bright colors work well for elementary students, and more muted or calming colors work well for upper elementary or middle school. Also, remember that a teacher will most likely keep the decor in the classroom all year, so it should be pleasing to the eye.
Step 2 – Adding Design Elements
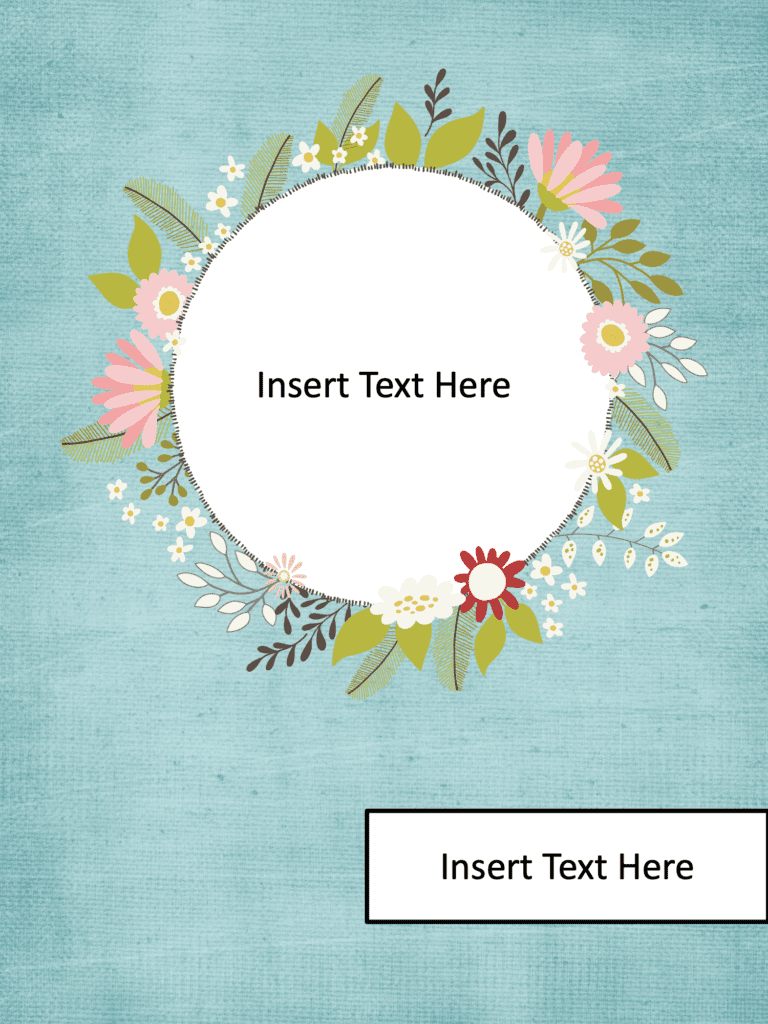
This is where the fun begins. After choosing your papers, clipart, and accents, you create the decor. I love using different combinations of papers, accents, and clipart to create my resources. I sometimes even create my own matching background papers to match specific clipart that I love. For example, with these binder covers on the right, I combined a paper pack, frame, and clipart to create the final look.
Step 3 – Saving the File and Flattening the Design Elements
This is definitely the most important part of the process. Once you create the designs, you must secure or flatten the images. This means the digital paper, clipart, frames, and other accents need to be in one single layer. When you do this, you make sure that individual pieces of the decor like clipart can’t be lifted from your resource. I prefer to use Flat Pack to secure my images, but you can also use PowerPoint too. Flat Pack comes in 2 versions: Flat Pack for Mac (affiliate link) and Flat Pack for PowerPoint (affiliate link), so make sure you purchase the correct version.
Want to Learn More?
If you’re interested in learning more about how to create editable products, check out my course on Creating Editable Classroom Organization and Decor Products to Sell on TpT. It includes 17 easy-to-follow videos that walk you through all the steps.
You might also be interested in my blog posts on Creating Uncover the Picture Boom Cards.


